

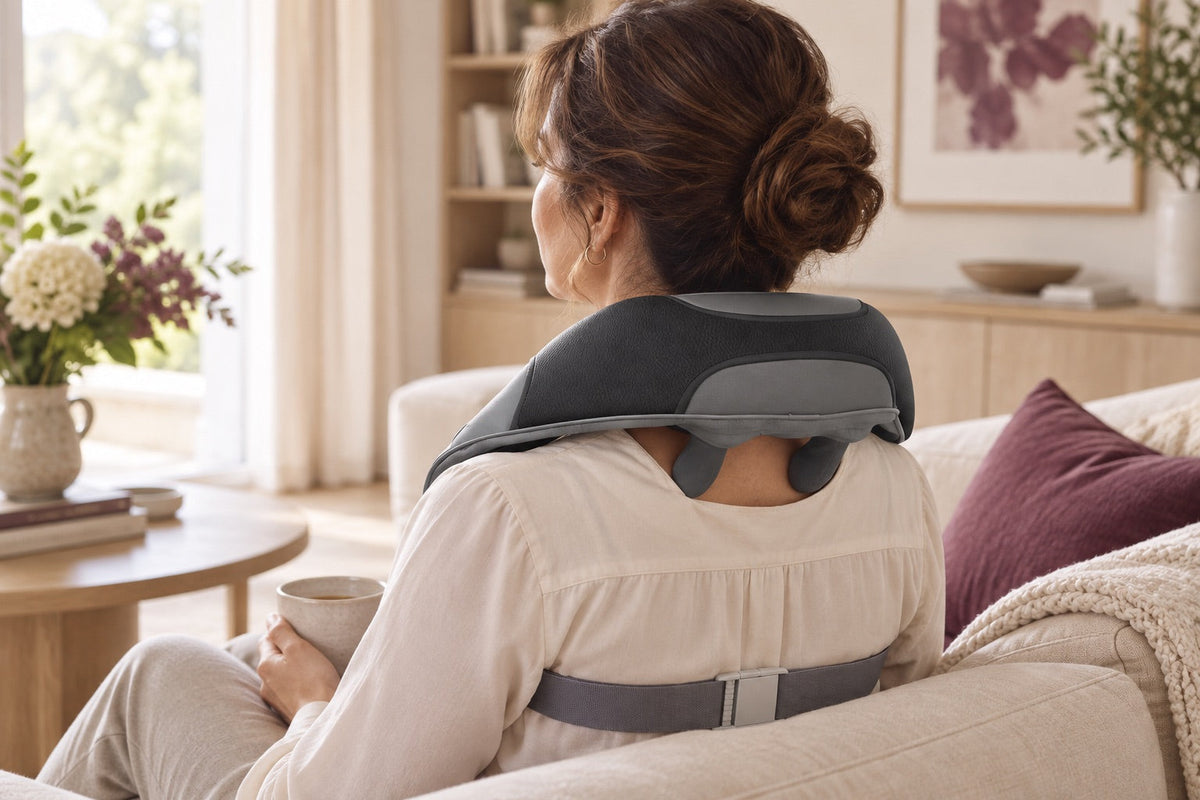
How a neck massager is worn matters as much as its features. Its shape, handles, straps and controls all affect the setup. Two devices intended for nearby body areas may require different positioning. Before starting a programme, find the position shown in the exact model’s manual, check that the device sits securely, and make sure you can reach the stop control. The following steps help you prepare a first use without over-tightening straps or forcing the fit.
Position the device as instructed, adjust without excessive pulling, and keep a clear way to release and stop it.
Identify the shape and contact points
Observe the shape of the product before passing it around the neck. Some models use handles to accompany their support; others have straps or an enveloping shape. These elements do not necessarily have the same role. Locate the direction of wearing, contact surfaces and controls using the illustrations in the user manual rather than by reproducing an advertising photograph.
Check the area actually provided by the manufacturer. A device presented for the neck and shoulders should not be moved to another part of the body by simple analogy. If the model seems too large, too tight or difficult to maintain in the indicated position, do not compensate with an improvised accessory. An installation that requires permanent stress deserves to be clarified before starting.
Choose a seat that allows easy movement
Choose a stable seat that allows you to maintain a natural posture and manipulate the controls. The backrest should not push the mechanism back into a different position than recommended. Check the space available behind the head and around the shoulders. A very deep armchair can change the placement of the product; an armrest too high can hinder the handles.
Install the power supply according to the instructions, without stretching the wire between the device and the socket. For a rechargeable model, check its state of charge according to the instructions. Keep nearby what allows to stop or remove the device. The first session gains to unfold without activity that occupies the hands or completely diverts attention from the controls.
Adjust handles or straps gradually
Start with the hold indicated by the manufacturer, then adjust only one item at a time. Pulling harder on handles does not necessarily mean getting a better result. On some formats, this mainly changes the pressure exerted by the mechanism. Respect the adjustment indications and avoid looking for an intense sensation as proof that the device is working properly.
A strap should be placed in the intended path, without twisting it or adding extra fasteners. Check that it does not interfere with the movement necessary to remove the product. If several people use the same device, take the settings for each one rather than automatically keeping the previous position. The right marker is a compliant and bearable installation, not a maximum tension or an identical tightening for all.
Explore each function separately
Before starting a set of settings, identify the main control and the functions actually present: vibration, massage mechanism, heat or other documented option. A button can change role depending on the duration of pressure; follow the instructions of the model. Do not assume that the heat is activated automatically or that it can always be used independently.
Take the time to observe the effect of a change before adding another one. This step allows you to know which setting is right for you and which is difficult. The mode names do not always describe their intensity in a comparable way between devices. Stay within the limits of the user manual and stop if the use becomes unpleasant, instead of trying to get used to an unusual constraint.
Respect the model’s time limits and restrictions
A timer or automatic shutdown alone does not define the duration that is appropriate for each. Consult the maximum duration and possible intervals between uses indicated for the reference. Avoid immediately restarting a cycle because the first one has ended. The operating limits are for the device and do not replace the attention to your own comfort.
Also read warnings and situations where use is not recommended. If you have an issue with your medical condition, sensitivity or a medical device, ask for an appropriate opinion before the test. A comfort article does not determine whether a device is suitable for an individual medical situation. The ability to adjust the intensity does not remove these precautions.
Remove and store without pulling on connectors
Stop the device before strongly changing its placement or removing it. Release the straps in the order specified by the manufacturer and support the product without resting on its cable. If a part has heated, follow the recommended cooling conditions. Then place the whole on a suitable surface where the handles, fittings and controls will not be crushed.
Clean only according to the instructions of the reference. A soft coating is not automatically washable, and a removable part is not necessarily intended to go under water. Store the user manual and the power supply with the device. A simple installation to be found in the next session is better than a compact storage that requires to bend the rigid parts or to tighten the wires.
Keep track of useful settings
After the first authorized tests, note what makes your installation easier: the type of seat, the height of the backrest and the position of the controls. You do not need to record every sensation. A few practical guides are enough to reproduce a correct configuration and identify what changes when you use another chair or lend the product to another person.
If a difficulty persists, describe it precisely to the media with the model code. A photo of the mounting, without unnecessary personal information, can help to understand a wrong strap or a problem with access to the buttons. Do not add a cushion, fixing or ballast to bypass a poorly understood operation. The correct adaptation begins with the compatibility between the format, the intended position and your actual installation.